How to add product options
This article will cover to setup product options for your products.
In this tutorial, we will guide you through the process of setting up product options in your website. Product options are extra fields that appear on the booking date picker on your product form, allowing you to offer additional services or features that customers can choose to add to their booking. Each option can be configured to add an optional fee to the booking, giving you more control over your pricing strategy.
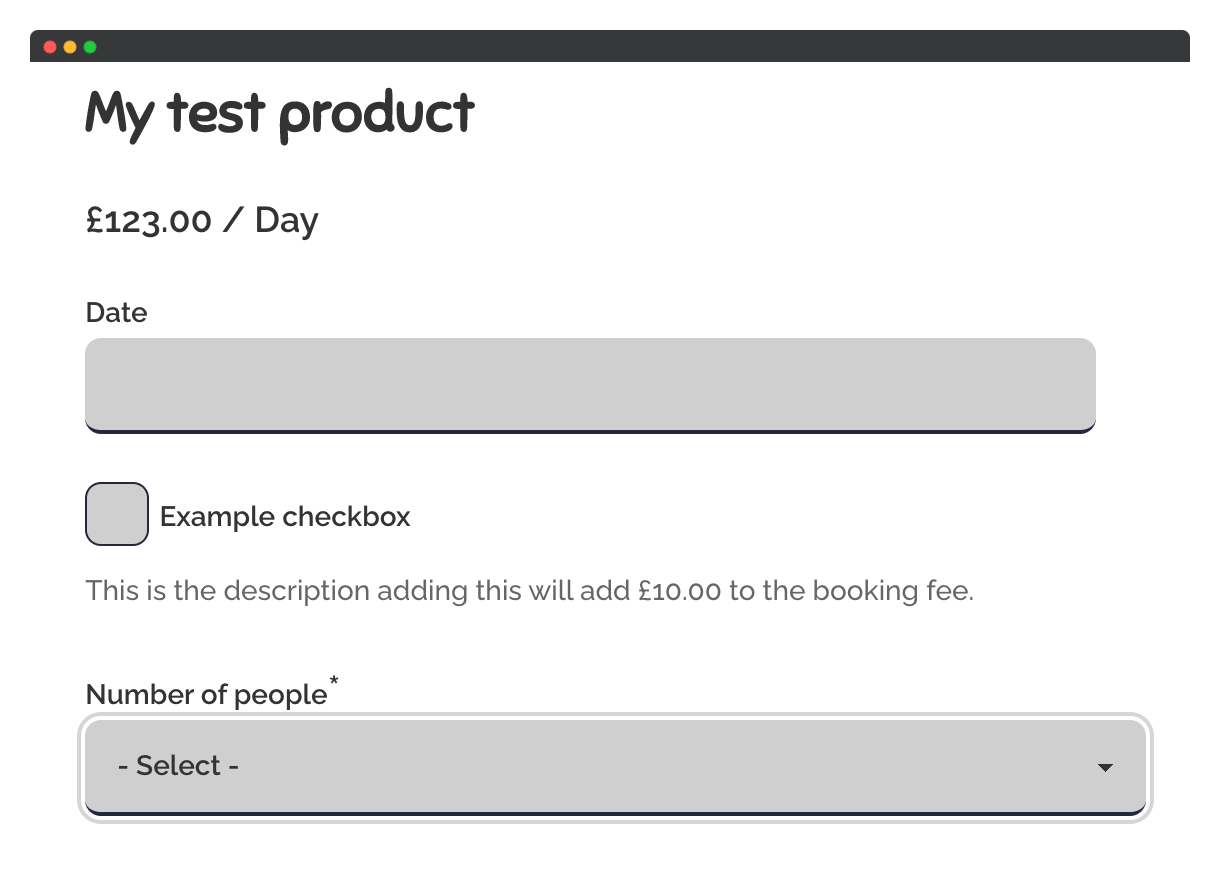
There are two types of product options available: Checkbox and Options. Checkbox is a simple yes or no checkbox, while Options produces a dropdown select list for users to choose from.
Follow the steps below to set up product options.
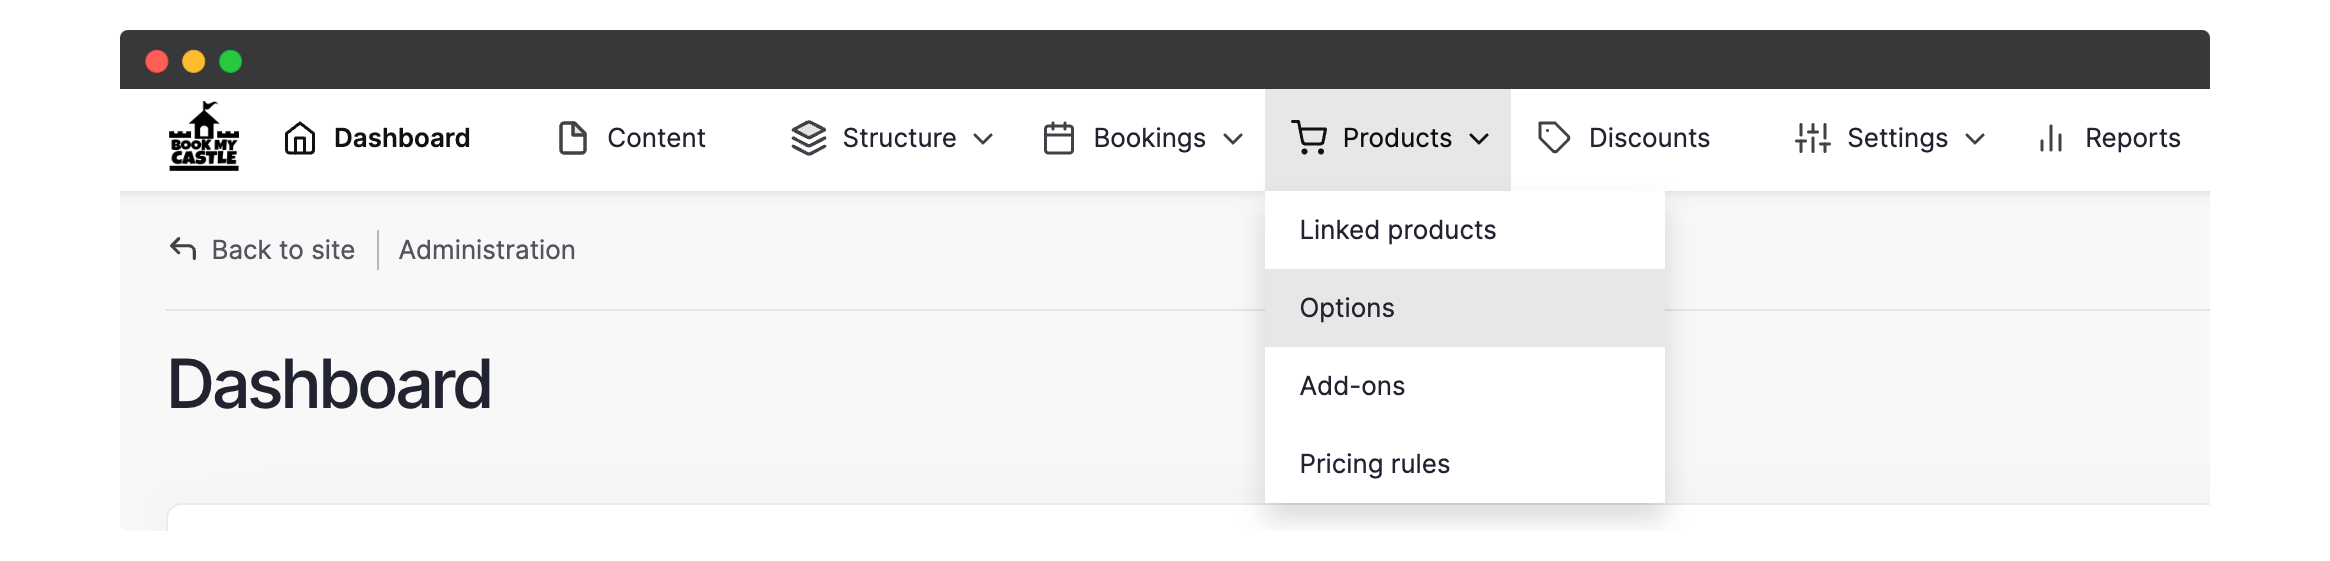
Step 1: Access the Options Section
- Navigate to the product section on the toolbar.
- Select Options.
Step 2: View Existing Options
- On the next page, you will see a list of any existing options that you have set up.
- You can edit them if needed.
Step 3: Add a New Option
- To create a new option, click the Add option button.
- Choose the type of option you wish to add (Checkbox or Options).
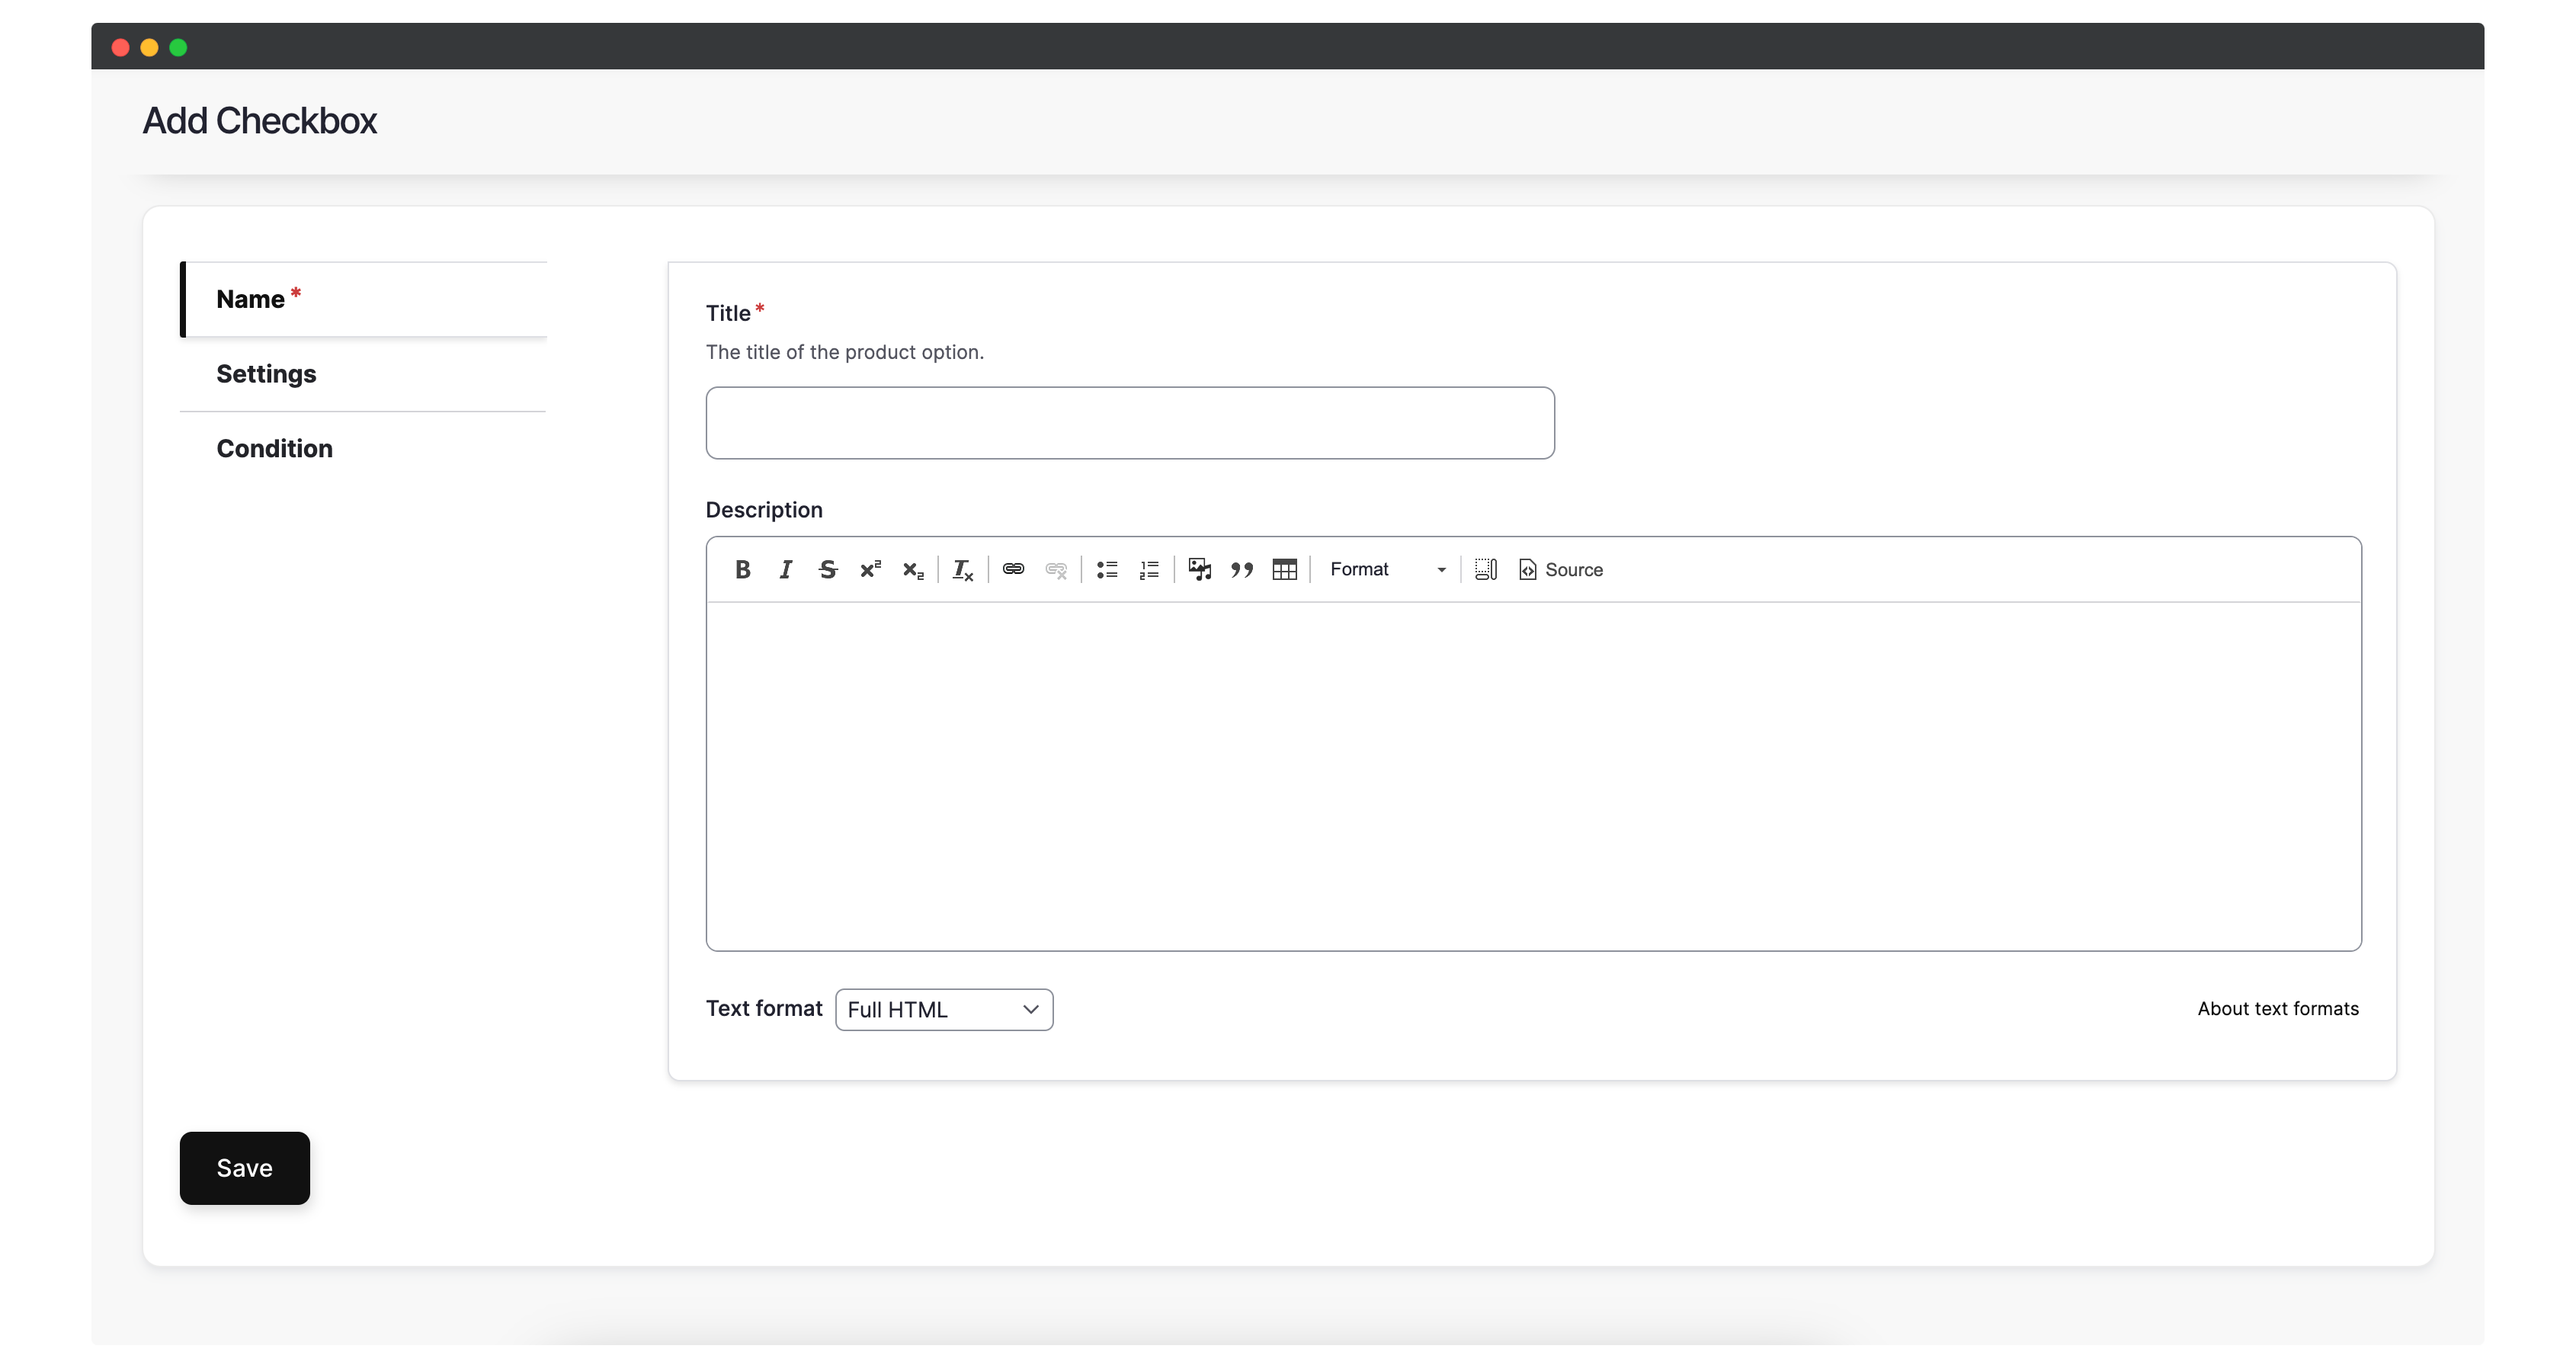
Step 4: Set Up Checkbox Option
- If you selected Checkbox, enter a name and description.
- In the Settings tab, configure the checkbox option as follows:
- Set whether the option is enabled or not.
- Specify if the option is required or not.
- Set the price if applicable.
- Choose whether the price should be calculated based on the number of days in the booking.
Step 5: Set Up Options
- If you selected Options, enter a name and description.
- In the Settings tab, configure the options as follows:
- Set whether the option is enabled or required.
- Choose whether the price should be calculated based on the number of days in the booking.
- In the Options tab, set the available options by entering the name of the option in the value field, and the price in the price field.
- You can add another option by clicking the Add another item button.
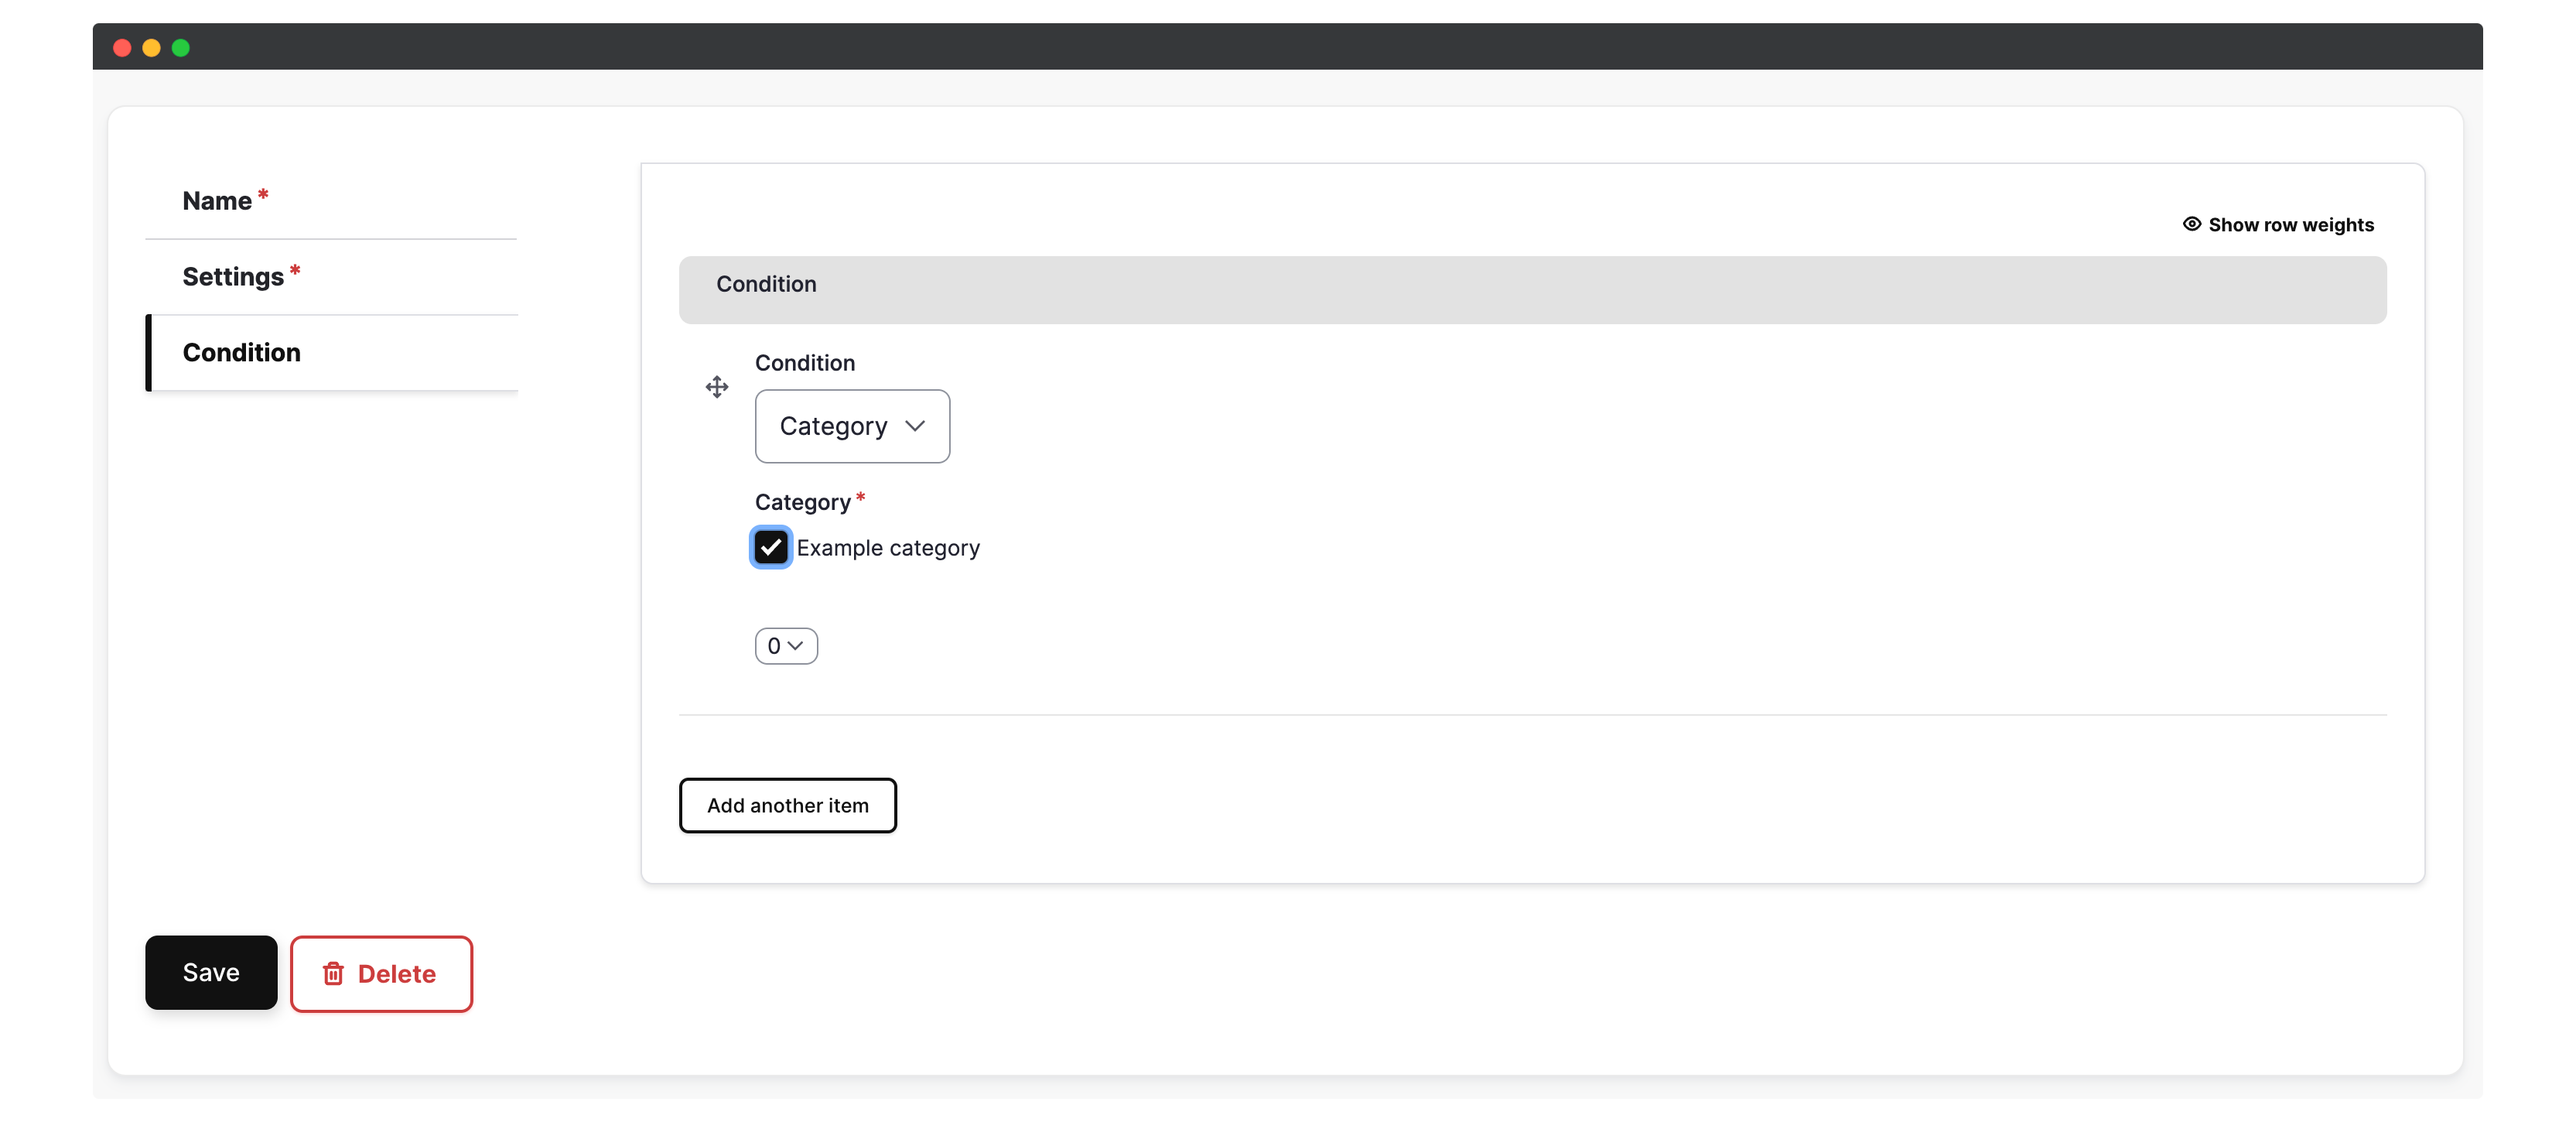
Step 6: Configure Conditions
- Both option types have a Conditions tab.
- Use this tab to set up rules on when these options become available on the booking form on the product page.
- The available types of conditions are category and product, so you can use this to restrict the option to only show on certain categories or products.
That’s it! You have successfully set up product options on your website. Now you can offer additional services or features to enhance the booking experience for your customers.