How to setup linked products
Step by step guide on setting up linked products.
In this tutorial, we will guide you through the process of setting up linked products in your website. Linked products allow you to create connections between different products and prevent them from being booked on the same date. Follow the steps below to set it up.
Step 1: Access the Linked Products Section
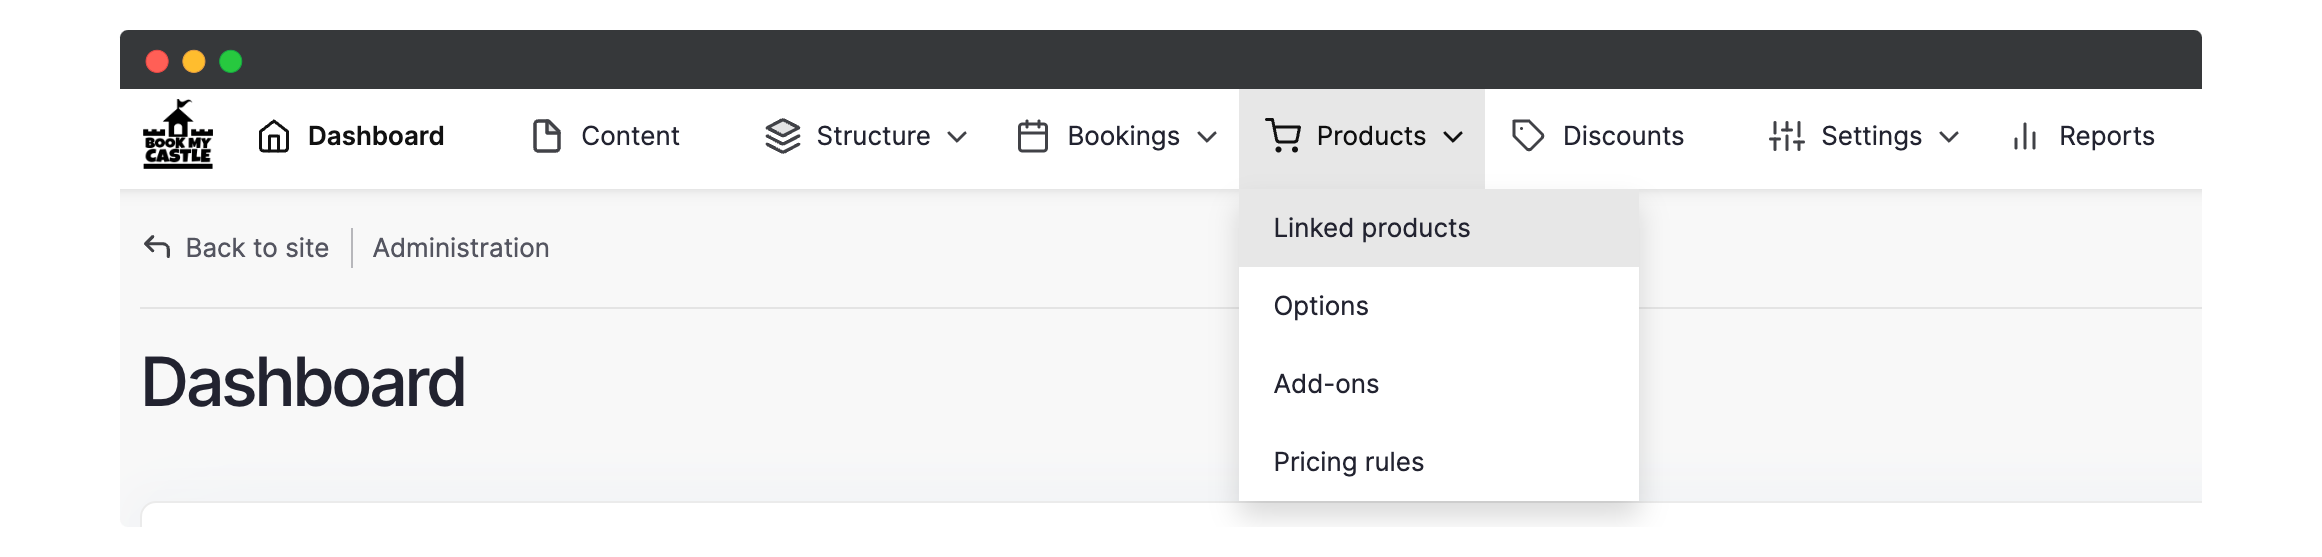
- Go to the product section on the toolbar.
- Select Linked Products.
Step 2: View Existing Linked Products
- On the next page, you will see a list of any existing linked products that you have set up.
- You can edit them if needed.
Step 3: Add a New Linked Product
- To create a new linked product, click on the Add Linked Products button.
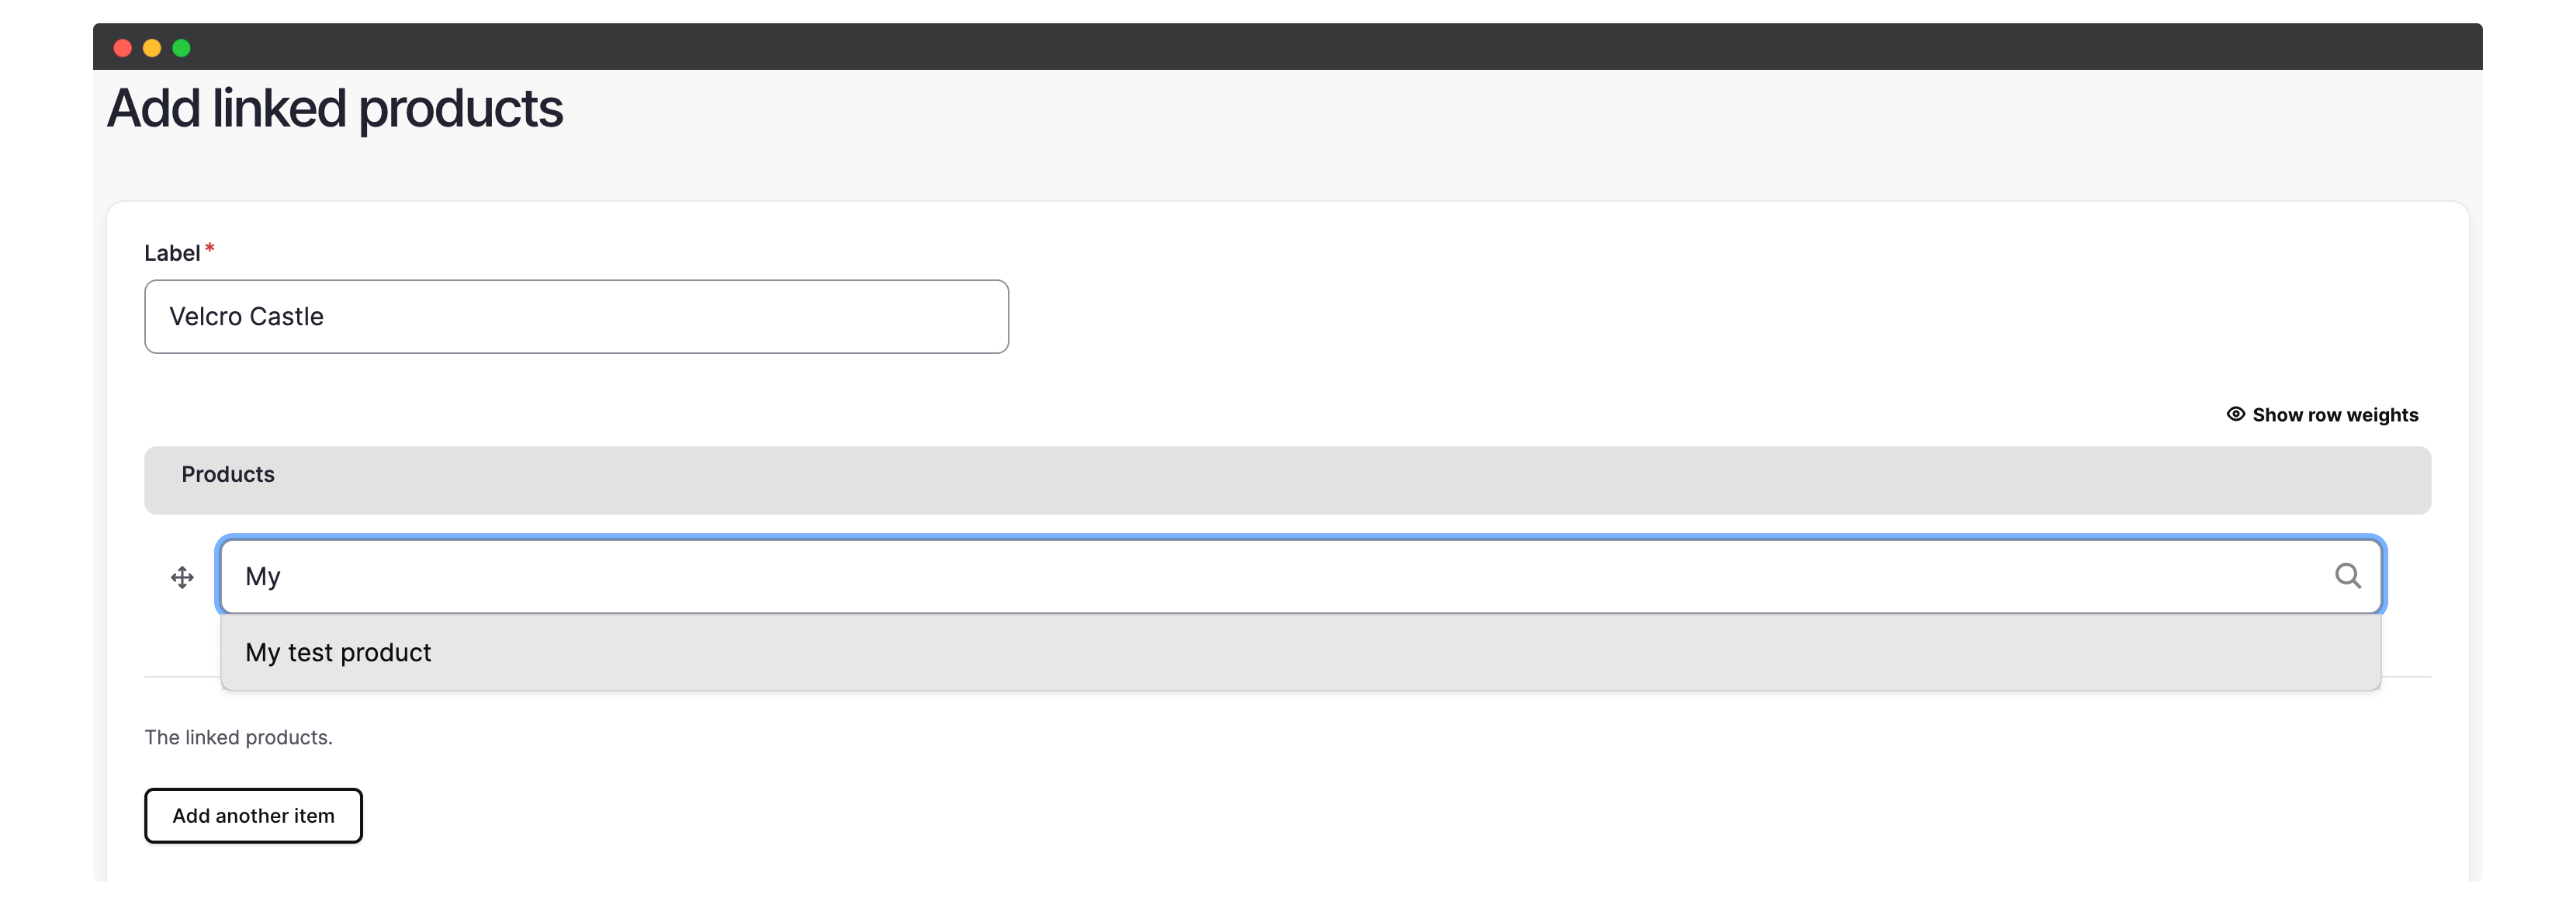
Step 4: Fill Out the Form
- A form will appear where you can give the linked product a name.
- Select the products you want to link by typing in their names and choosing them from the dropdown list.
Step 5: Save the Changes
- Once you have filled out the form, click Save to create the linked product.
- The products will now be linked, and bookings for these linked products will be prevented on the same date.
That’s it! You have successfully set up linked products on your website. Now you can ensure that certain products cannot be booked simultaneously, providing a better booking experience for your customers.