How to add categories
This guide shows you how you can setup and manage categories.
In this tutorial, we will guide you through the process of adding a new category to your website. Categories are used to organise and classify your products. Follow the steps below to create a new category.
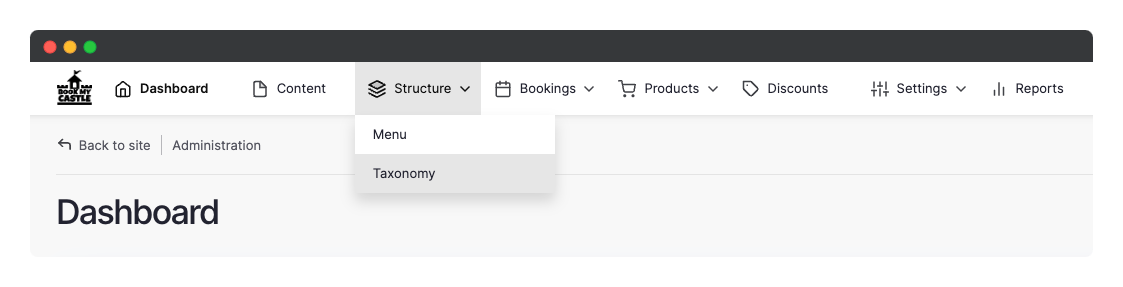
Step 1: Access the Taxonomy Settings
- From the toolbar, navigate to the Structure section.
- Click on Taxonomy.
Step 2: Navigate to the Category Taxonomy
- You will be redirected to the taxonomy list page.
- Locate the Category option and click on List terms.
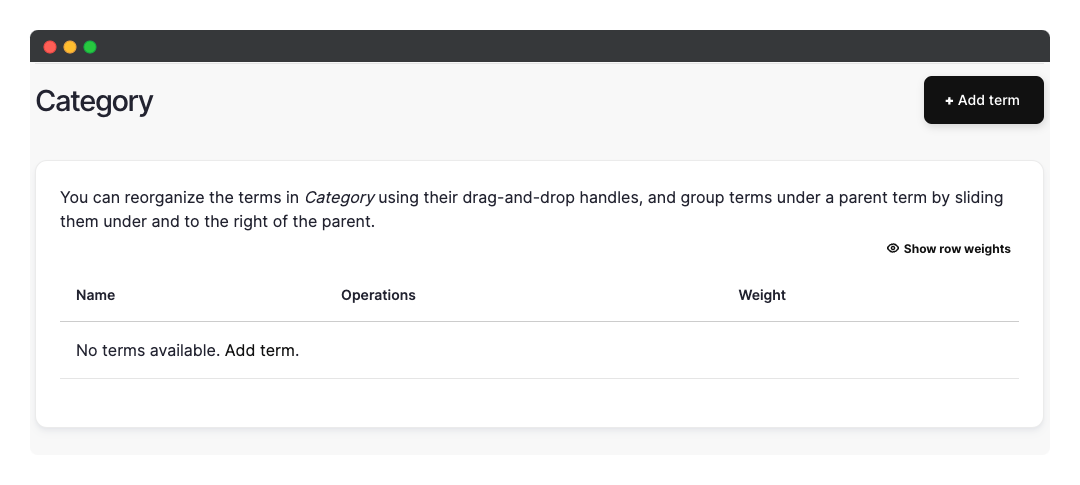
Step 3: Add a New Category
- On the category term list page, click the Add term button.
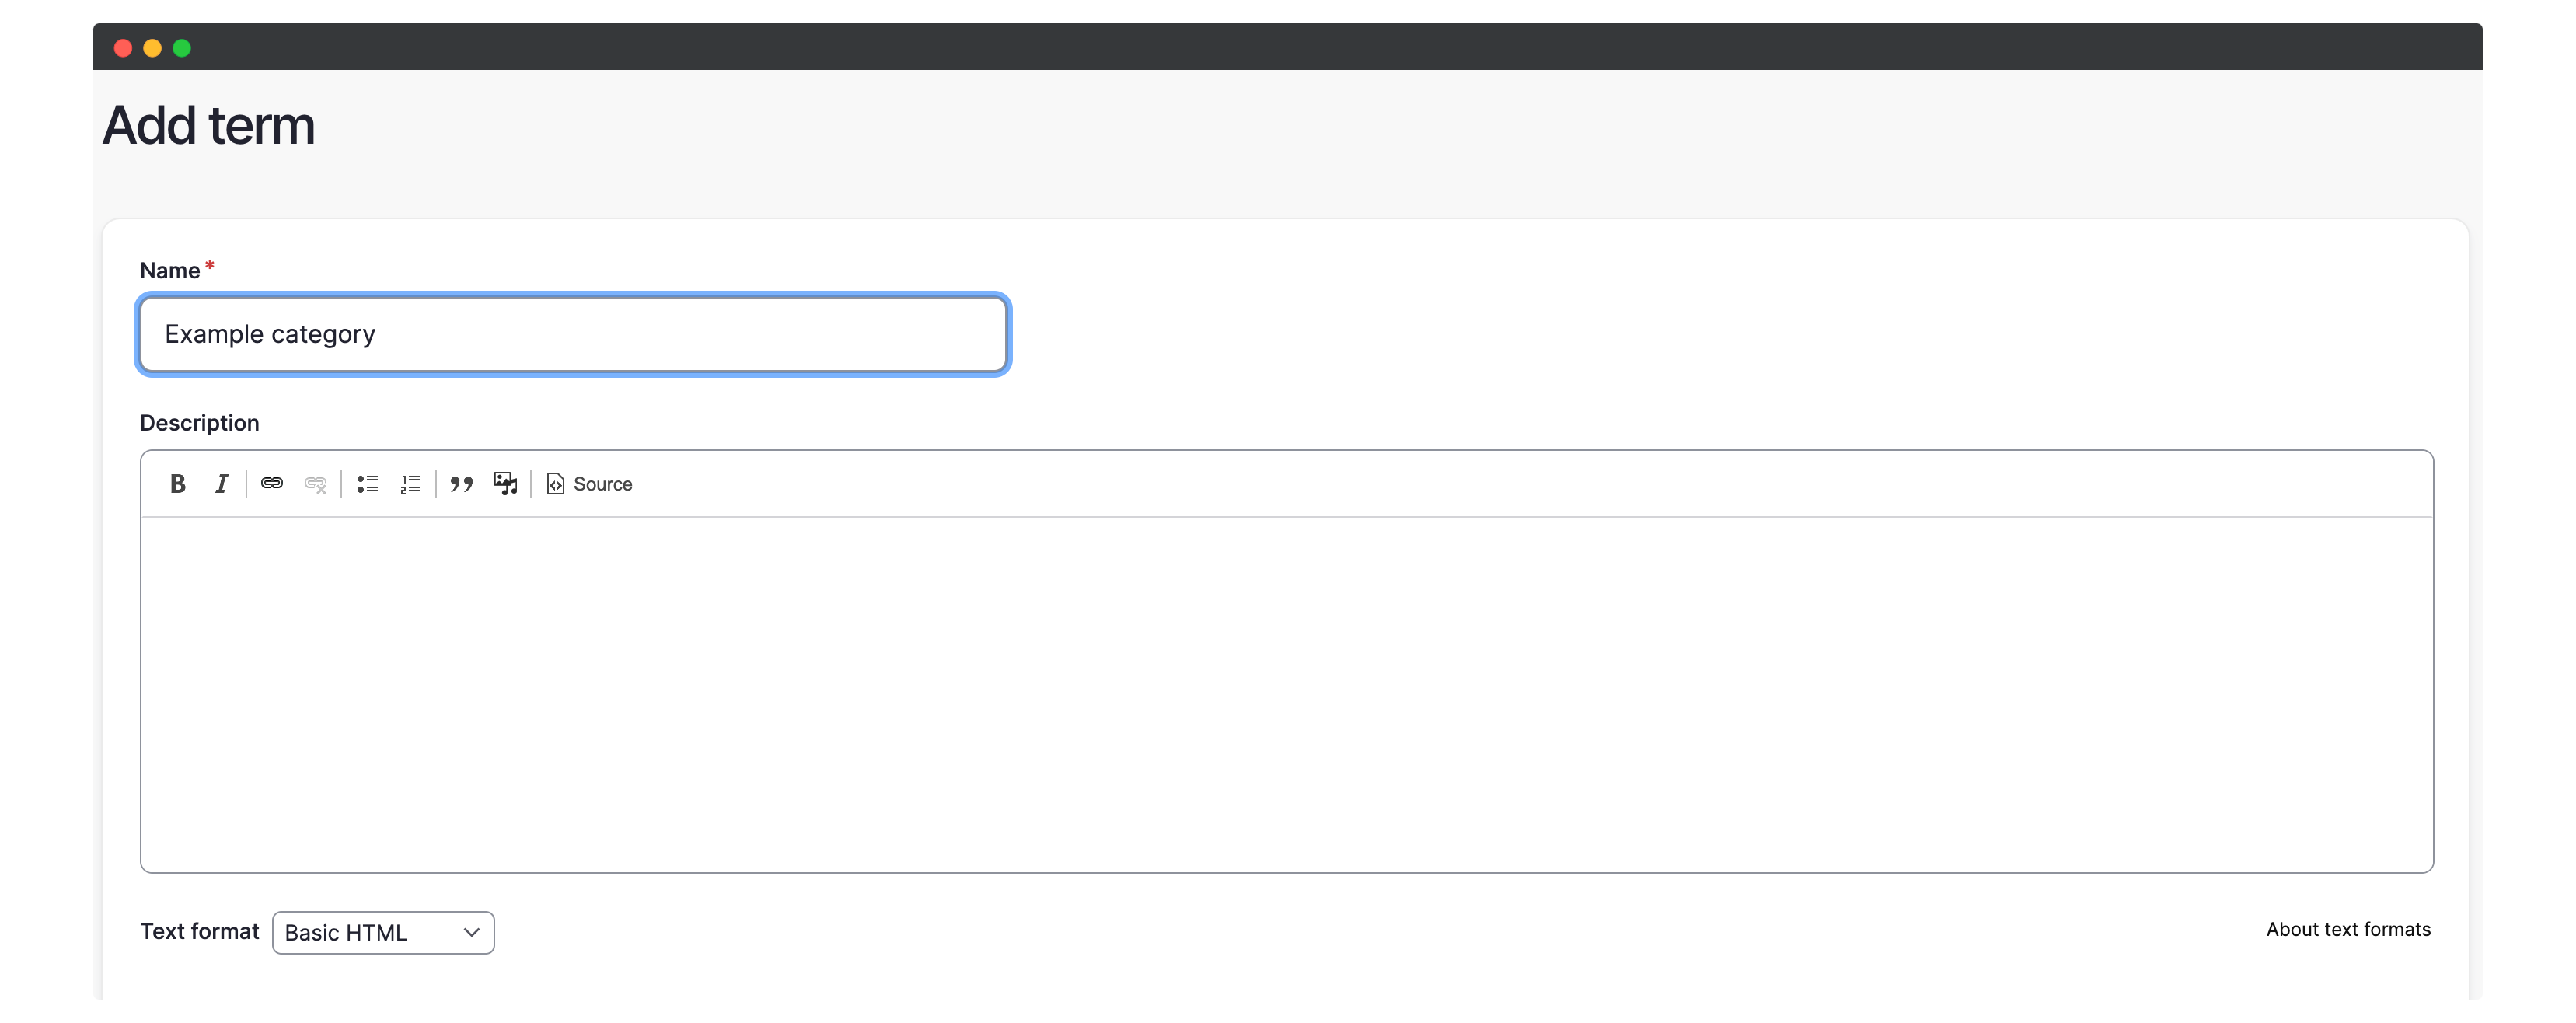
- A new page will open where you can enter the name of your new category.
- Give your category a descriptive name.
- Click Save to create your category.
Step 4: Use the New Category
- After saving, your new category will now appear as an option when adding or editing a product.
- You can assign products to this category to organise them.
Step 5: View the Category Page
- To view the product listing page for a category, simply click on the category’s title from the category term list page.
- This will display all the products or content assigned to that category.
Step 6: Add Category Page to Menu
- If you want to add the category page as a menu item, you can do so by following the steps for “adding a menu item” in your website’s administration panel.
- This will allow visitors to easily navigate to the category page from the menu.
That’s it! You have successfully added a new category to your website. Now you can organise your products more efficiently.
Remember to assign products to the category to make them appear under the respective category page.